75 Kitchen Hacks to Save Time, Get Organized, and Stay Calm
Transform your kitchen experience with our “75 Kitchen Hacks to Save Time, Get Organized, and Stay Calm.” Discover ingenious solutions to everyday cooking challenges, from preventing potato discoloration to mastering the art of efficient meal prep. Save money, reduce stress, and bid farewell to kitchen chaos. Uncover secrets to keeping bananas fresh, softening butter in seconds, and efficiently peeling garlic. Learn innovative techniques for storing, reheating, and reviving leftovers. Boost your culinary confidence as we share tips on sharpening knives, preventing cross-contamination, and maximizing kitchen efficiency. Elevate your cooking game with these practical hacks that make the most of your time and resources. Explore a world of culinary possibilities, turning your kitchen into a haven of organization, speed, and tranquility. Say goodbye to culinary stress and hello to a more enjoyable and efficient cooking experience!
RESOURCED ARTICLE: 75 School Lunch Box Hacks. Clever Ideas To Save Time, Money & Your Sanity.
So maybe you think you’ve got it all figured out. You’re the MacGyver of the kitchen — spatula in one hand, two eggs in the other.
Crack, separate, and plop goes the egg in the bowl… with a bit of shell. The horror! What do you do? Hint: Fishing around with a spoon isn’t the answer.
Thankfully, we have a solution to your egg quandary (see tip number 10), plus quick fixes to tons of other food prep, cooking, and baking predicaments, from pitting a nectarine to softening butter the easy way.
We’ve hacked your kitchen — prepare to save money, save time, and never cry from cutting onions again.
Thankfully, we have a solution to your egg quandary COOKING HACKS FOR FOOD STORAGE:
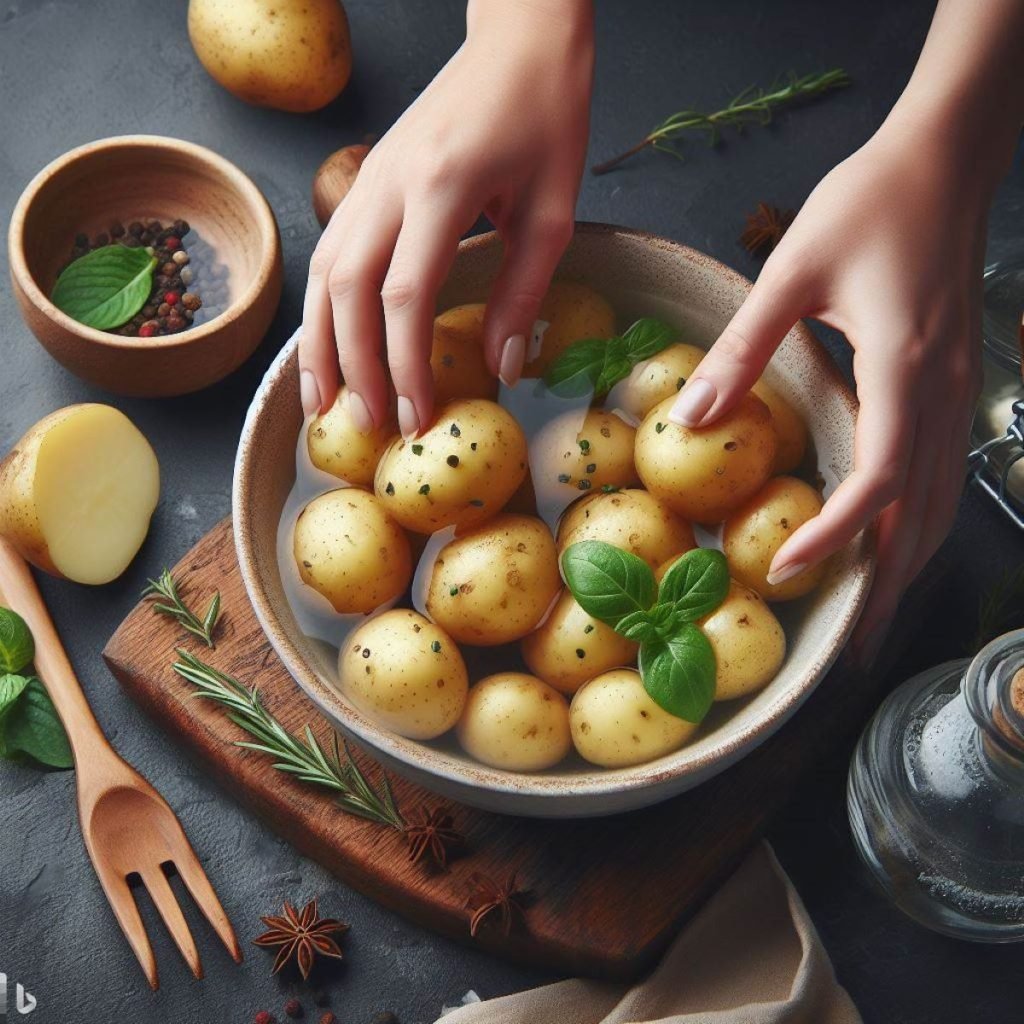
1.Maintain white potatoes
Cover shredded or diced potatoes with cold water before cooking to prevent the spuds from turning that gross grayish/brown caused by the release of a starch that makes them oxidize.
2.Delay the decaying process
Store tomatoes stem end down to keep them from spoiling as quickly. This prevents air from entering and moisture from exiting the scar where the tomato once attached to the vine.
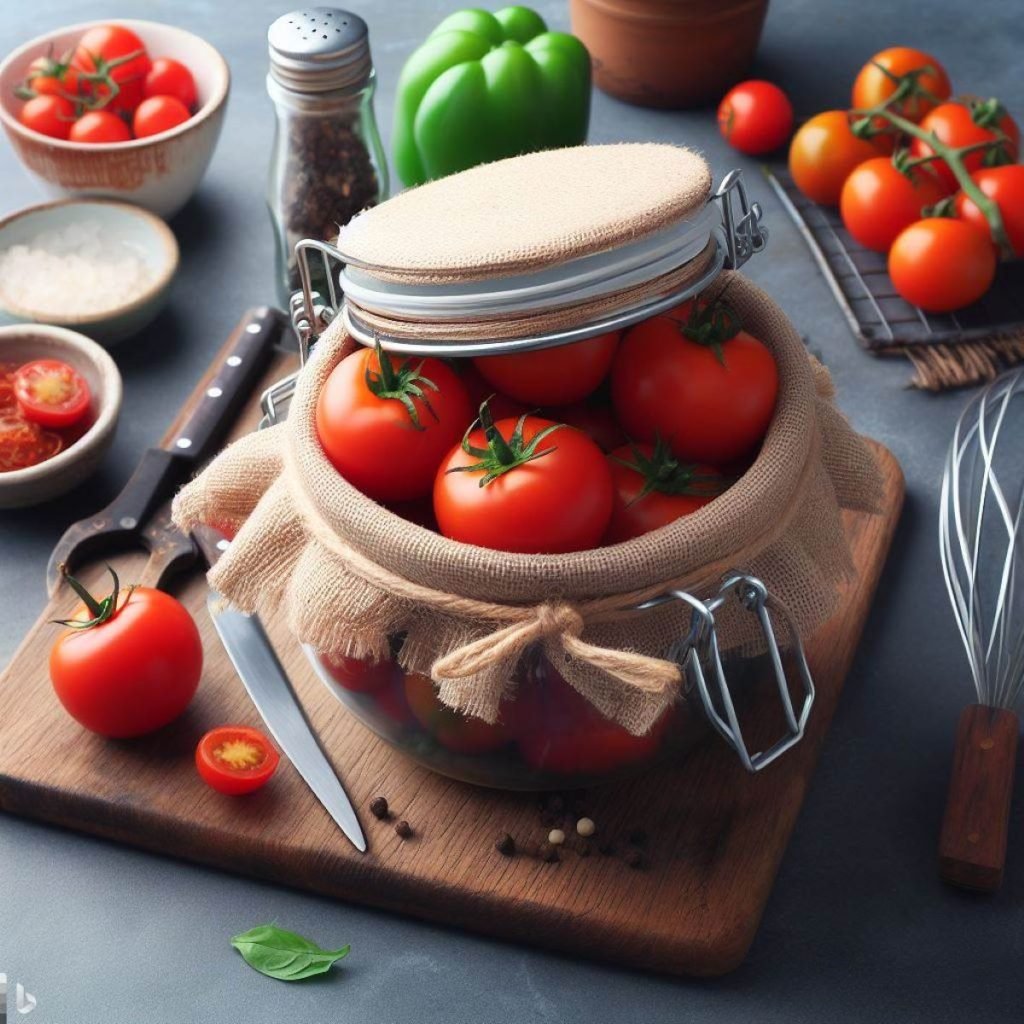
Oh, and the advice to never store a tomato in the fridge? Debunked! Recent research revealed that the method of storage (fridge versus countertop) didn’t significantly affect taste or juiciness of tomatoes. trusted Source.
3.Give bananas more time to live
Keep bananas fresh for longer by wrapping the end of the bunch with plastic wrap. Better yet, separate each banana. Both tactics block ethylene gases from releasing out of the stem, thereby ripening the fruit too fast.

4.Accelerate ripening
Be a total magician and morph a banana from green to yellow (or a peach from crunchy to juicy) with the help of a paper bag. When fruit is tossed into the bag, concentrated ethylene gas helps it ripen faster.

5.Prevent the browning of chopped fruit
You’ve probably heard that a little squeeze of lemon juice can keep apple slices from looking unappetizing. A mixture of 1 part honey to 2 parts water works much the same way to keep fruit from browning.
Ever wonder why this works? The citric acid and vitamin C in lemon juice and a peptide in honey slow down the oxidation process that causes discoloration.

6.Keep brown sugar from solidifying
Ugh, the worst: You go make cookies, only to find your brown sugar hardened into crusty nuggets (or a single rock-hard candy mountain). Help brown sugar stay soft and scoop able by tossing an orange peel or a slice of apple along with the sugar into an airtight container.
Or, for a quick fix, microwave brown sugar next to a small glass of water. The moisture the water released into the microwave will help break up the block of sugar.

7.Avert catastrophes with plastic wrap
Had enough of wrangling plastic wrap? Store the roll in the fridge to cover leftovers with less of a hassle. Chilling the wrap temporarily reduces its stickiness.

8.Use your imagination to cover food
Use shower caps to cover leftovers right in their dishes. They prevent air particles from turning food stale, are reusable, and more convenient than plastic wrap or foil.

9.Never again wrestle with shards of eggshell
Determine the freshness of eggs by placing them in a bowl of cold water. If they sink, they’re still fresh; if they float, they’ve seen better days.

Peeling, pitting, and removing
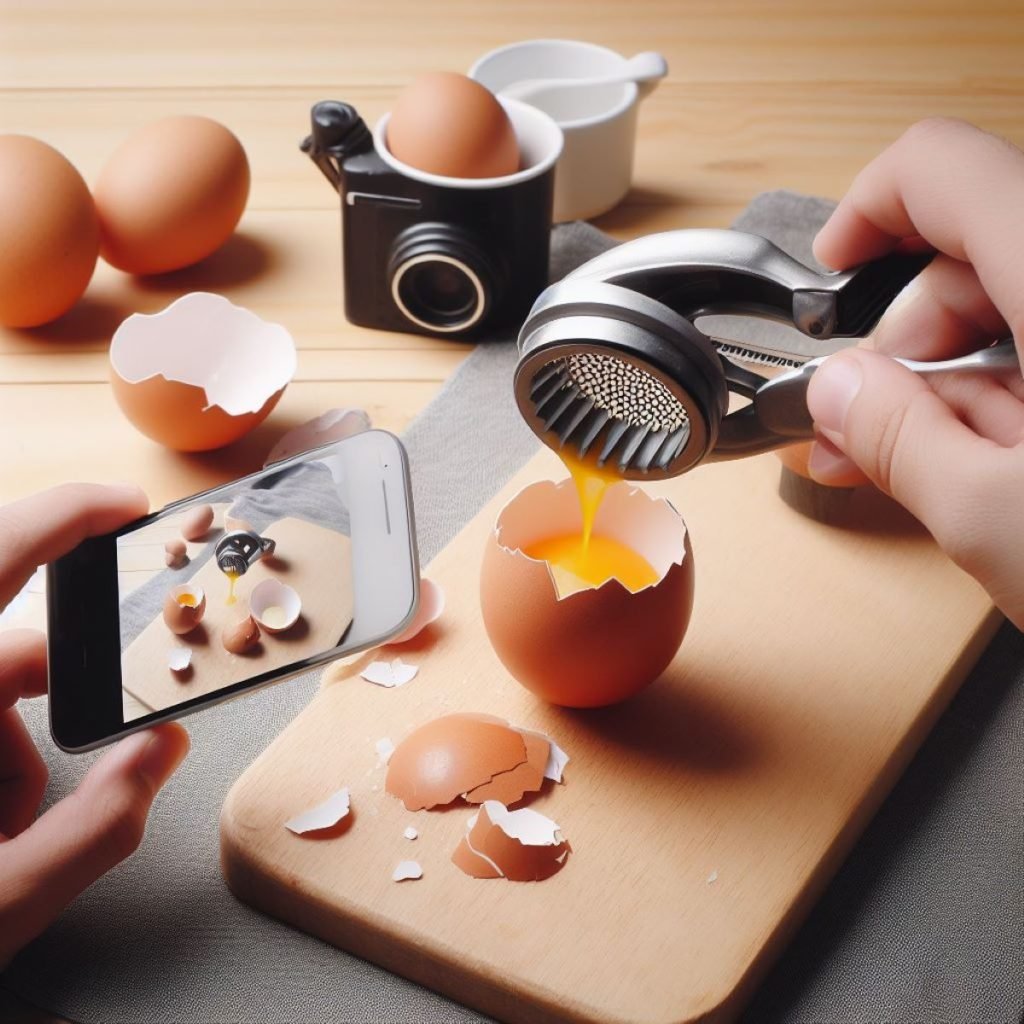
10.Never again wrestle with shards of eggshell
No one likes crunchy pieces in their cake or brownies. But grabbing a bit of eggshell that’s fallen into batter can turn into a wild goose chase, as it seems to squirm out of your reach like a wily tadpole.
We’ve got two solutions. For one, just wet your fingers and reach right in. (Simple, but it really works!)
For a cleaner alternative, scoop up bits of broken eggshell with half of your already-cracked egg. The shell acts as a magnet to draw up shell pieces without wasting too much egg.

11.Squash seeds are easily scooped out
Remove seeds from vegetables like squash and pumpkin with an ice cream scoop. Because the edge of the scoop is sharp, it cuts through the fibrous, gooey stuff inside the squash better than your hand or a regular spoon.
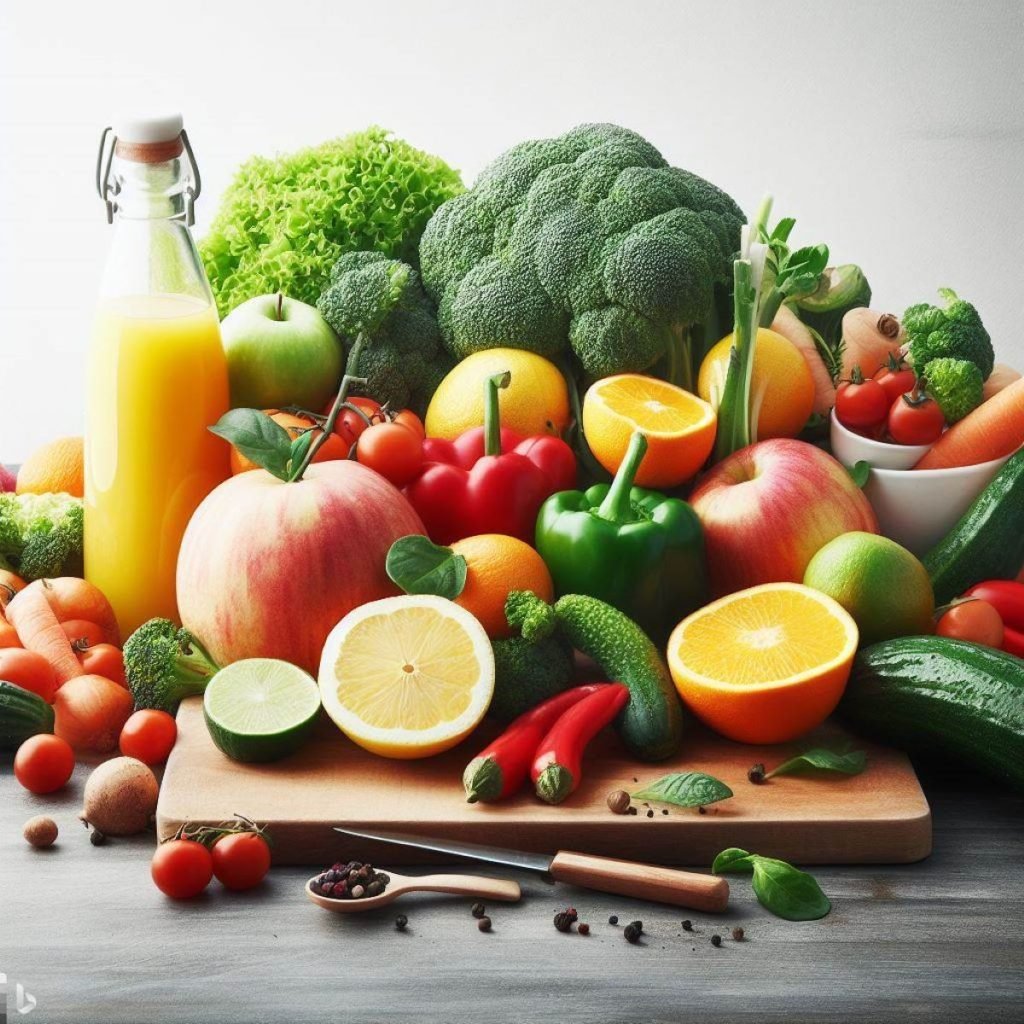
You might be interested in Balanced Diet

12.Remove the fat
Spoon out excess fat from stocks, stews, and sauces by skimming a few ice cubes (wrapped in a paper towel or cheese cloth) along the surface of the liquid. The ice helps the fat solidify, making it easier to remove with a spoon (or even a piece of toast).

13.Divide the yolks and whites
This hack is borderline wizardry!
Crack an egg into a bowl, then invert an empty water bottle above the yolk, squeezing in the sides of the bottle. As the mouth of the bottle makes contact with the yolk, release the pressure on the bottle.
Schloooop! The change in air pressure sucks the yolk directly into the bottle, leaving the white behind.

14.Pit cherries effortlessly
Place cherries on top of an empty beer bottle, one at a time, and use a chopstick to push the pit into the bottle.

15.Turn that banana around
Ever had issues prying into a banana? You’re not alone. Instead of wasting precious fruit by hacking into the stem end with a knife, gently press the bottom together and peel the banana from the bottom up.

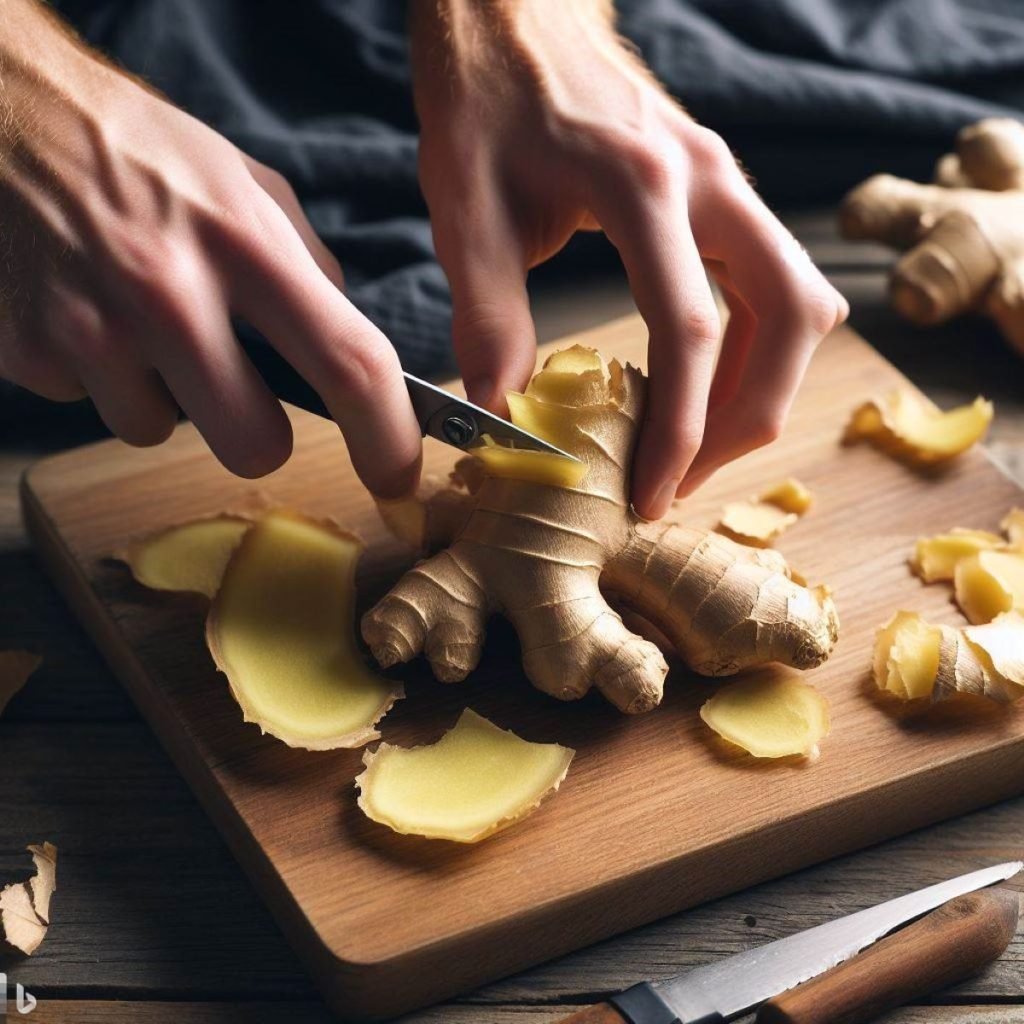
16.Remove the papery ginger skin
No need to pry off ginger’s knobby skin with a peeler. Ginger root skin is actually quite delicate and can be scraped off with a teaspoon.
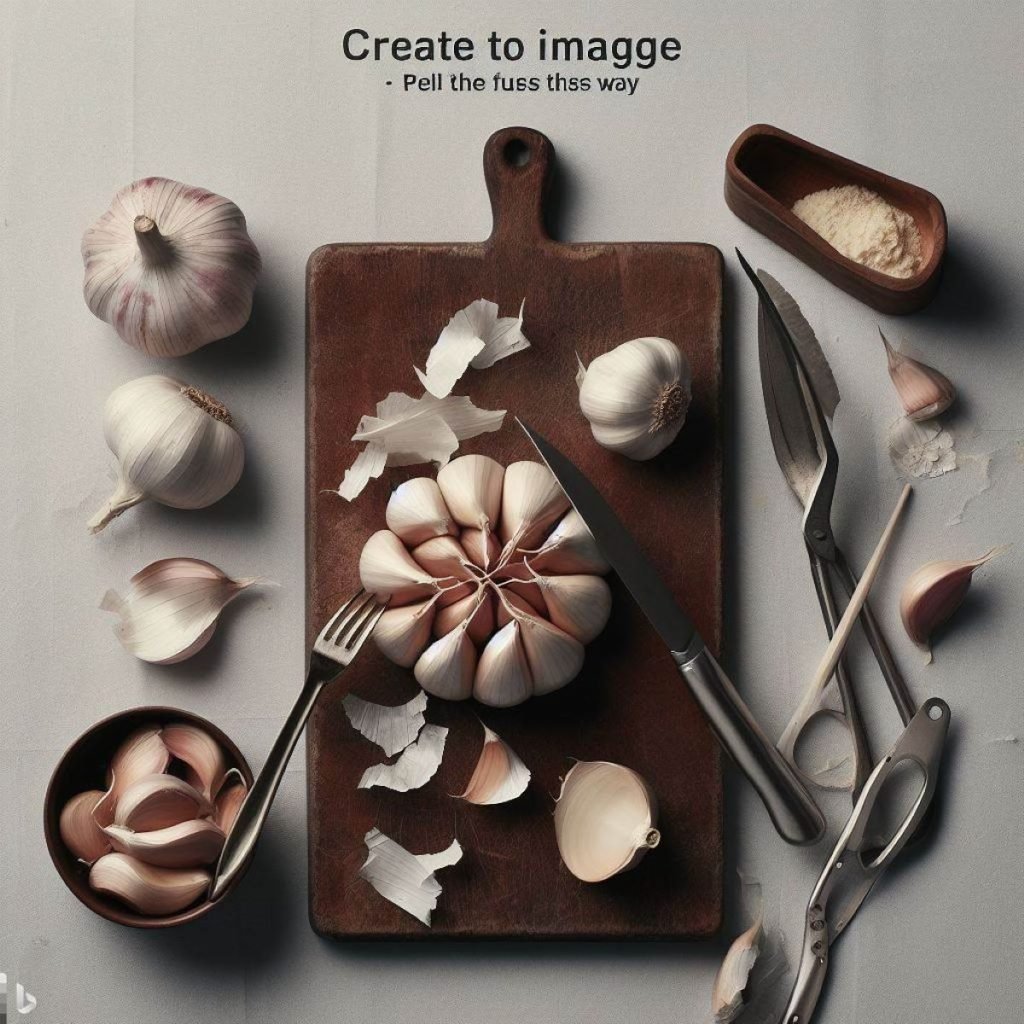
17.Peel garlic without fuss
Remove all cloves from the bulb, then whack each clove with the side of a chef’s knife. The skin will fall right off.
18.the citrus fruit’s peel
There’s only one downside to eating an orange: the tedious task of peeling it. To avoid the mess and frustration, roll citrus fruits and/or microwave them for a minute for easy peeling. (Just be careful to not burn yourself!)

19.Use no peeler to peel potatoes
Time to ditch the peeler again! Peel a potato in a snap by boiling it for a few minutes, then giving it an ice bath — a method known as blanching. The skin will separate from the potatoes center so you can pick it right off.

20.Turn stone fruits into a spiral
Cut stone fruits, such as plums and nectarines, into two equal halves, then twist the halves in opposite directions. Use your thumb to pop out the pit.

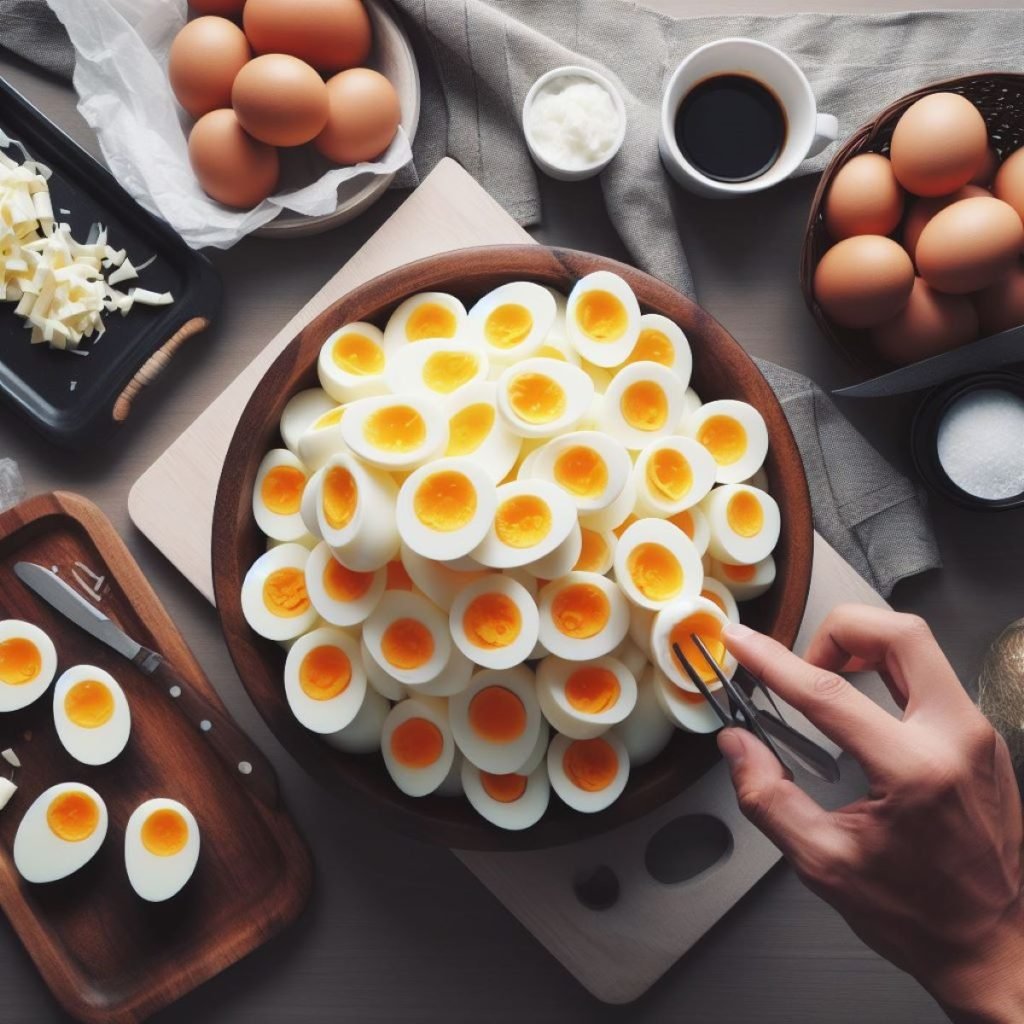
21.Peel and cook a large number of eggs
If your thumb doesn’t do the job, gently pry it out with a butter knife, or cut the fruit into quarters for easier separating.
Peel and cook a large number of eggs.
Time to put all your eggs in one basket — or, uh, one pot or other crockery.
Peel multiple hard-boiled eggs at a time by shaking them in any lidded container. Smash, bang, boom! Shells are cracked and ready to shake right off.
The eggs won’t be pretty, but they will be ready for an egg salad much quicker than traditional methods.
22.Make eggshell removal even easier
The fresher your eggs, the harder it is to remove their shells when hard-boiled. Solve this predicament by adding baking soda or vinegar to water when boiling eggs.
Both substances permeate the eggshells and help the albumen (that’s fancy speak for egg whites) separate from the shell.
23.Using just one tool, pit and peel an avocado
Cut an avocado into quarters lengthwise to break the fruit from the pit. (Once it’s down to the last section, you can just pop the pit right off.) Run a knife under the tip of skin on each section, then peel it off like a banana.

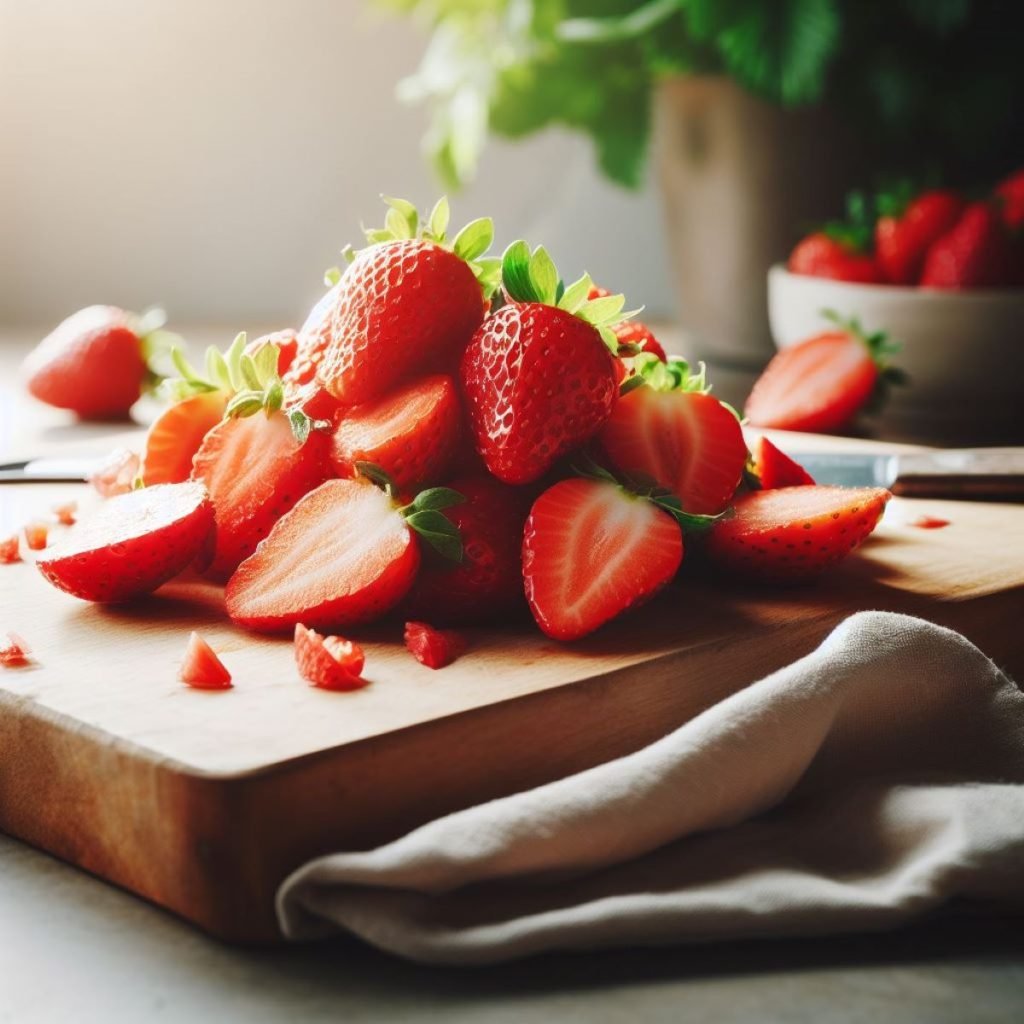
24.Hull strawberries
Though you technically can eat strawberries whole, most of us would rather not.
Press a straw through the bottom of a strawberry until it breaks through the top and takes the hull — the white part of the center of the berry — with it. Remove any remaining leaves with your fingers.
25.Add more juice to citrus fruits
To get the most juice out of a lemon, refrigerate, then microwave it for 15 to 20 seconds.
Bonus tips: Roll citrus fruits before squeezing, cut them lengthwise, and/or use a pair of tongs to squeeze instead of your own two hands.

26.Prevent seeds from spilling into lemonade
When juicing citrus, wrap the fruits in cheesecloth (or a clean stocking) for seed-free sipping.

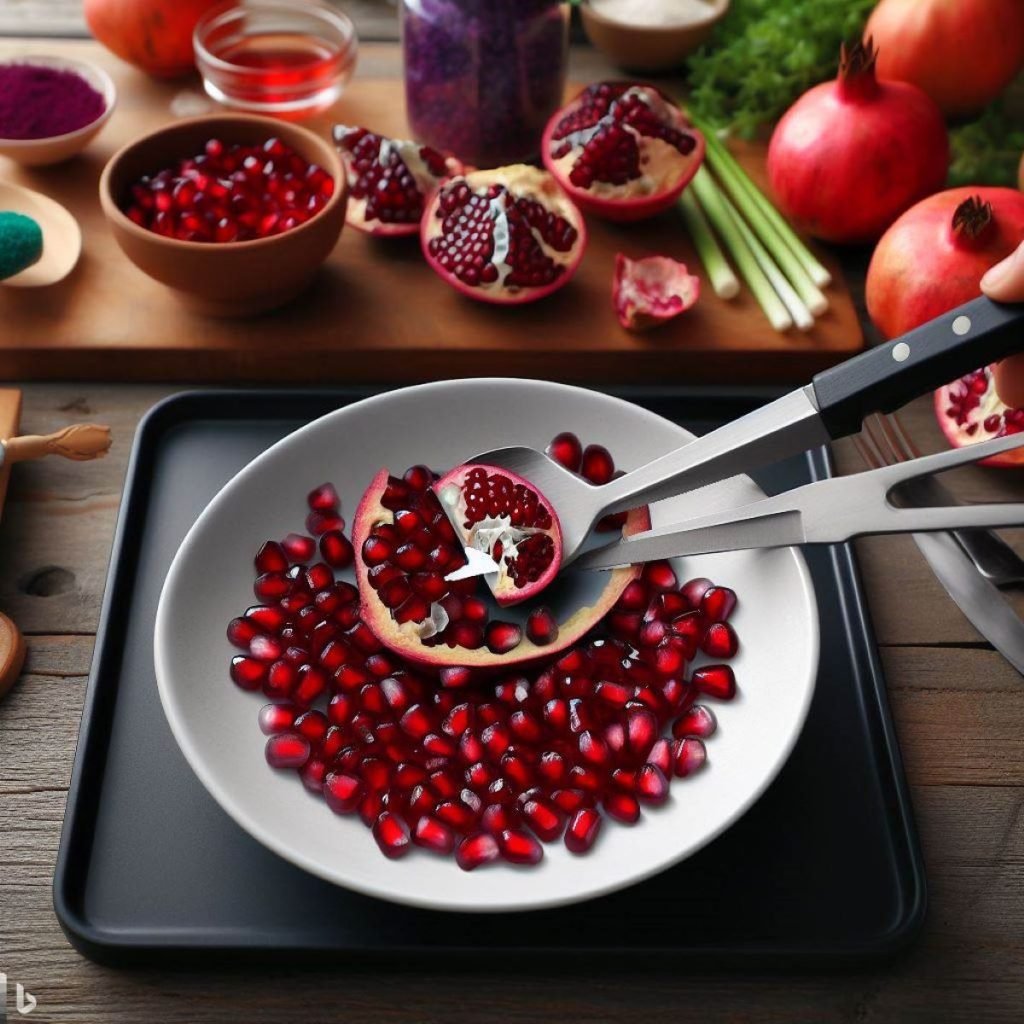
27.Take out the pomegranate seeds (without getting red on your hands).
The nitpicky nature of pulling out pomegranate arils is almost enough to make you pass on these delicious, antioxidant-rich fruits. Trusted Source.
Simplify the process by cutting a shallow circular cone into the flower end of the pomegranate, then slice off the bottom (the other side) of the fruit.
Score the fruit along its natural ridges, and pry each section apart to reveal the seeds.
28.Use your teeth to remove the kernel from a corn cob
Use a Bundt pan — yes, really — to slice corn kernels off the cob. Place the pointy end of the cob on the center hole of the pan (with the open part of the pan facing up) and gently press downward. The pan does double duty as both a stand and a kernel collector.

Cooking prep kitchen Hacks
29.Make grating cheese less messy and easy
Before grating semi-soft cheeses such as fontina and fresh mozzarella, freeze it for about 30 minutes. This hardens it up, making it easier to grate.

30.Easy to cut (soft) cheese
Slice soft cheeses such as brie and goat cheese with unflavored dental floss to avoid squishing them. This trick also works for cake, cheesecake, and cookie dough logs!

31.Keep onions from bringing you to tears
To stop onion-induced tears, freeze this aromatic veggie before chopping. (Note: This trick only works if you’re planning to cook the onions later — otherwise, after the onion thaws out, the raw pieces will be a bit soggy!)
Another option? Strap on your swimming goggles to protect your eyes while you chop.
Or, if you want to look absolutely crazy when your housemate walks in, put a slice of bread in your mouth (partially sticking out) to absorb the irritant gas before it reaches your eyes.
32.Handle difficult-to-open jars
To open a stuck jar lid, wrap the lid with a rubber band and give it another try. The band will provide extra traction. If that’s still not enough (or your hands hurt too much), cover the rubber banded top with a dishtowel, and try again.
Alternatively, lid grips can help and are easily found at the grocery store in packs of three.
33.Produce homemade buttermilk
Buttermilk adds richness to muffins, pancakes, and breads, but it can be a tall order to get through a whole container of the stuff. (‘Cause we’re willing to bet you don’t drink it straight.)
To make your own buttermilk, add a tablespoon of vinegar or lemon juice to 1 cup of regular milk. The mixture won’t get as thick and creamy as the real thing, but it will help create fluffy baked goods just the same.
34.Halve the cherry tomatoes all at once
Cut multiple cherry or grape tomatoes in half with a handy lid trick.
Place one lid flat on the countertop, add a layer of tomatoes (roughly all the same diameter), and top with another lid. Gently slice horizontally through the bunch of tomatoes while pressing down the top lid.
What kind of lids? Anything works! Large yogurt container lids or Tupperware tops are good options.

35.Quickly soften butter
Keeping butter out on the counter for an hour isn’t exactly ideal for a tight schedule. To speed up the process, grate it with a cheese grater or flatten it with a rolling pin (but put it in a plastic bag first).

36.Quickly soften butter (without rolling pin or grater)
If you’d rather not use one of the tips mentioned above, cut a stick of butter into about eight pieces. More surface area and air flow will allow the stick to soften more rapidly.

37.Return melting butter to its solid state
Revive over softened butter by giving it an ice bath. Place the butter in a small bowl, then nestle the small bowl in a larger one filled with a few handfuls of ice and some cold water.
38.Measure clingy materials without creating a mess
Coat a measuring cup or spoon with hot water or a dab of cooking oil (or spray) before measuring sticky substances such as molasses or honey. The heat or oil will help it slide right off and into a mixing bowl without leaving any behind.

39.Honey de-crystallization
Bring new life to crystallized honey by placing the container in a bowl of hot water for 5 to 10 minutes.

Cooking hacks and baking tips
40.Prevent pots from overheating
When your pot rennet over, prevent overboiling by placing a wooden spoon across the top of it. Because wood is not a good material for conducting heat, the hot water strays away from the handle.

41.Avoid wasting time flipping
Now, don’t flip out on us, but you don’t always have to flip your food. When roasting items such as French fries and veggies, preheat your cookie sheet in the oven. This eliminates the need to flip halfway through.

42.Evenly cook the entire chicken
When cooking an entire turkey or chicken, ice the breast of the bird. Since the dark thigh meat needs more time to cook than the white breast meat, chilling the breasts will promote even cooking.

43.Create the ideal poached egg
To poach an egg that’s both tasty and aesthetically pleasing, crack your egg into a fine-mesh strainer before cooking. This gets rid of liquid-y excess egg white.

The strainer is also a great tool for gently lowering the egg into the water.
44.Prepare the ideal poached egg
When you want to sauté, but all your measuring spoons are dirty, no need to dismay!
A standard spout on an olive oil cruet meters out oil at 1 tablespoon per 6 seconds. Count to 6 to pour the perfect tablespoon (or to 2 for a teaspoon, 24 for a quarter cup, etc.).

45.Chop brownies but leave the crumbs out
There’s nothing worse than pulling out a pan of perfect brownies only to destroy the entire pan when it comes time to slice.
For flawlessly square, clean-cut brownies (or other bars), grease a baking pan, line it with two strips of parchment (one from left to right, one from front to back, crossed through the middle), and grease the parchment paper too.
Once cooked, let the brownies sit until cool to the touch. Use the parchment paper edges to lift the brownies from the pan. Then slice with a serrated knife.

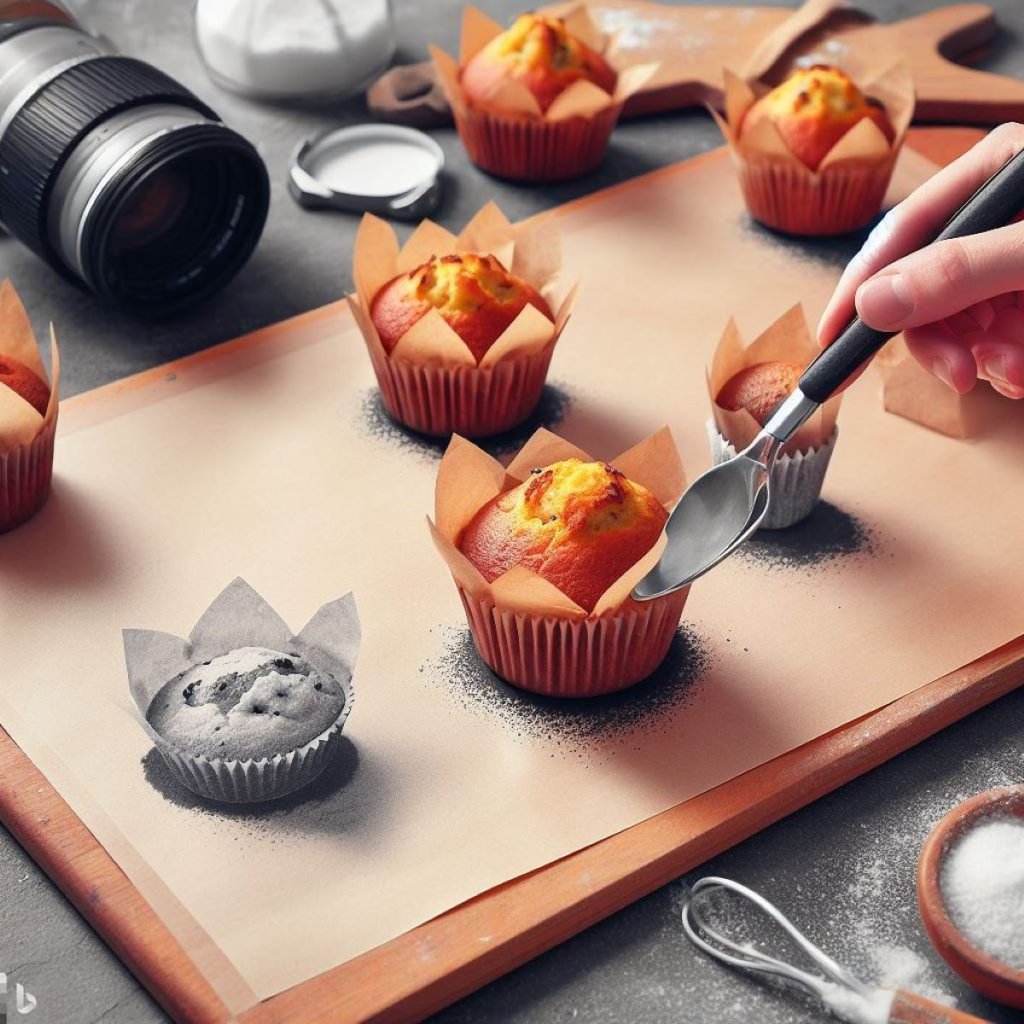
46.For muffins, use parchment paper
No muffin liners? No problem! Use 5-inch squares of parchment paper instead.
To help the paper stick better, spray each muffin-well first. Then press the squares into each hole, folding the sides as needed to create flat walls. Bonus: The makeshift liners look pretty darn fancy with those popped collars.
47. Make cake flour at home
Psst… you in the flour aisle… you don’t actually need pre-purchased cake flour to make light-as-a-feather pastries. Instead, make your own!
Measure out 1 cup of all-purpose flour, then remove 2 tablespoons. Add 2 tablespoons cornstarch and whisk to combine.

48.Spread pastry without creating a mess
Okay, so your sugar cookie dough turned out a little sticky. How do you keep it from sticking to your countertop (and clinging to your rolling pin) when you roll it out? Wax paper to the rescue!
For minimal mess, place a sheet of wax paper underneath dough before rolling — and layer an additional sheet on top to keep your rolling pin squeaky clean.

49.Milk that foams without a frothier
So maybe you don’t have a fancy-schmancy espresso machine with attached milk steamer. We can’t help you on the espresso front, but we can tell you how to get frothy, creamy, delicious milk foam on the cheap!
All you need is a small jar with a lid. Fill the jar with a little milk (no more than halfway) and shake what your mama gave you (or, you know, your leftover jam jar) until the milk has doubled in size.
Pop off the lid and microwave the milk for about 30 seconds. Voila! Frothed milk.

50.Make coffee without using a machine
For those times when you’re really roughing it without a coffee maker, there’s still hope for getting your caffeine fix!
Boil coffee grounds in a pot of water (use the same amount of coffee and water you would for a coffee machine). Remove from the heat and let the grounds settle to the bottom (4 or 5 minutes), then ladle the coffee off the top of the pot into cut.

Heating and preserving leftover food
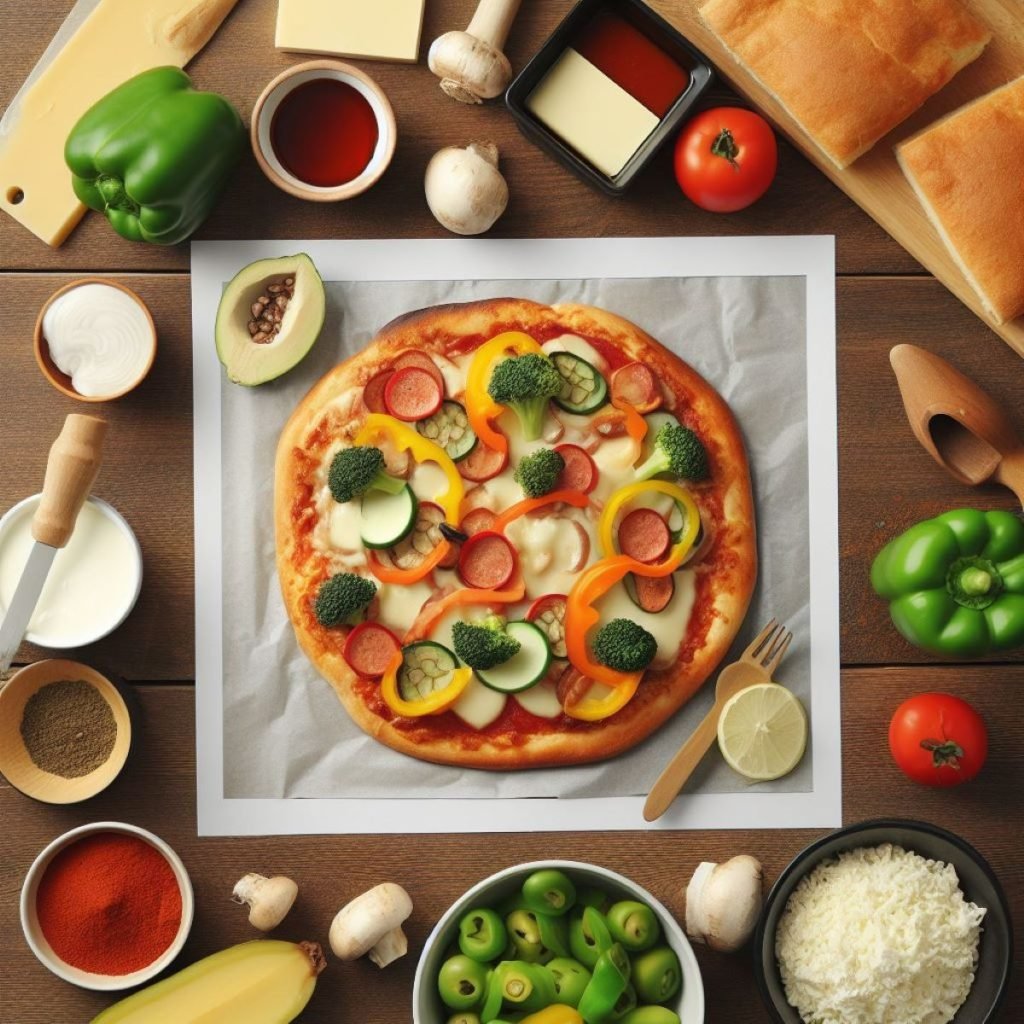
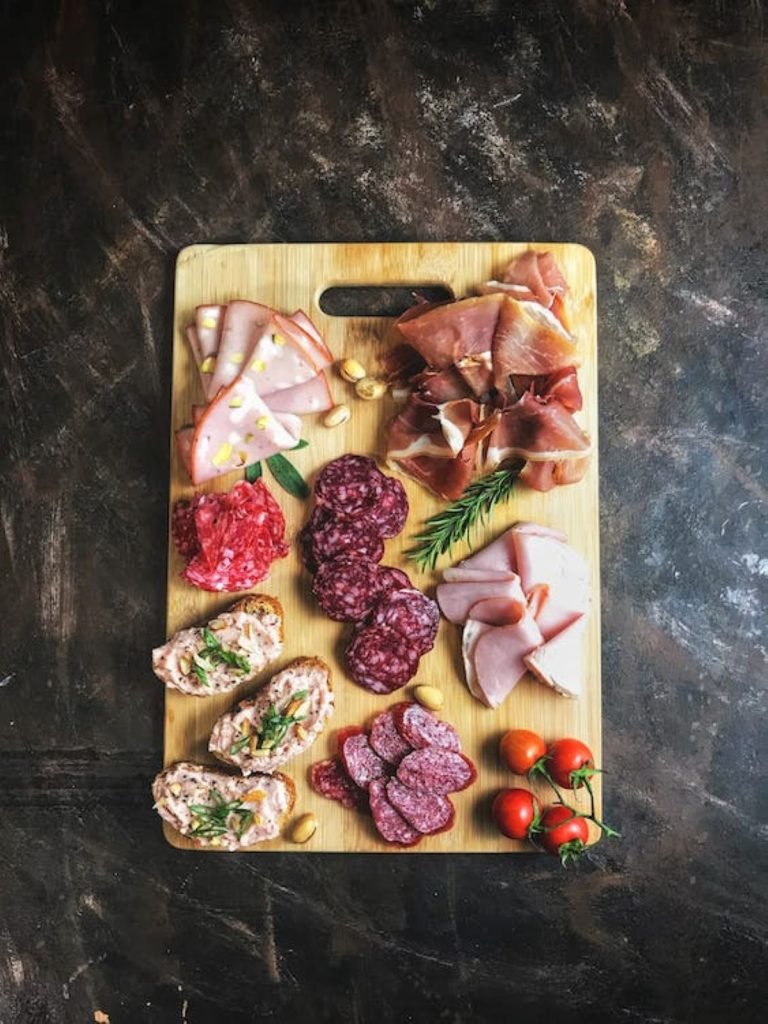
51.Repurpose leftovers
Wait, don’t toss that extra rice, pizza toppings, or grilled chicken! Instead of throwing leftovers in the trash, get savvy about how to repurpose extra bits and pieces into other meals like casseroles and frittatas.
This is a helpful handbook with many of recipe suggestions
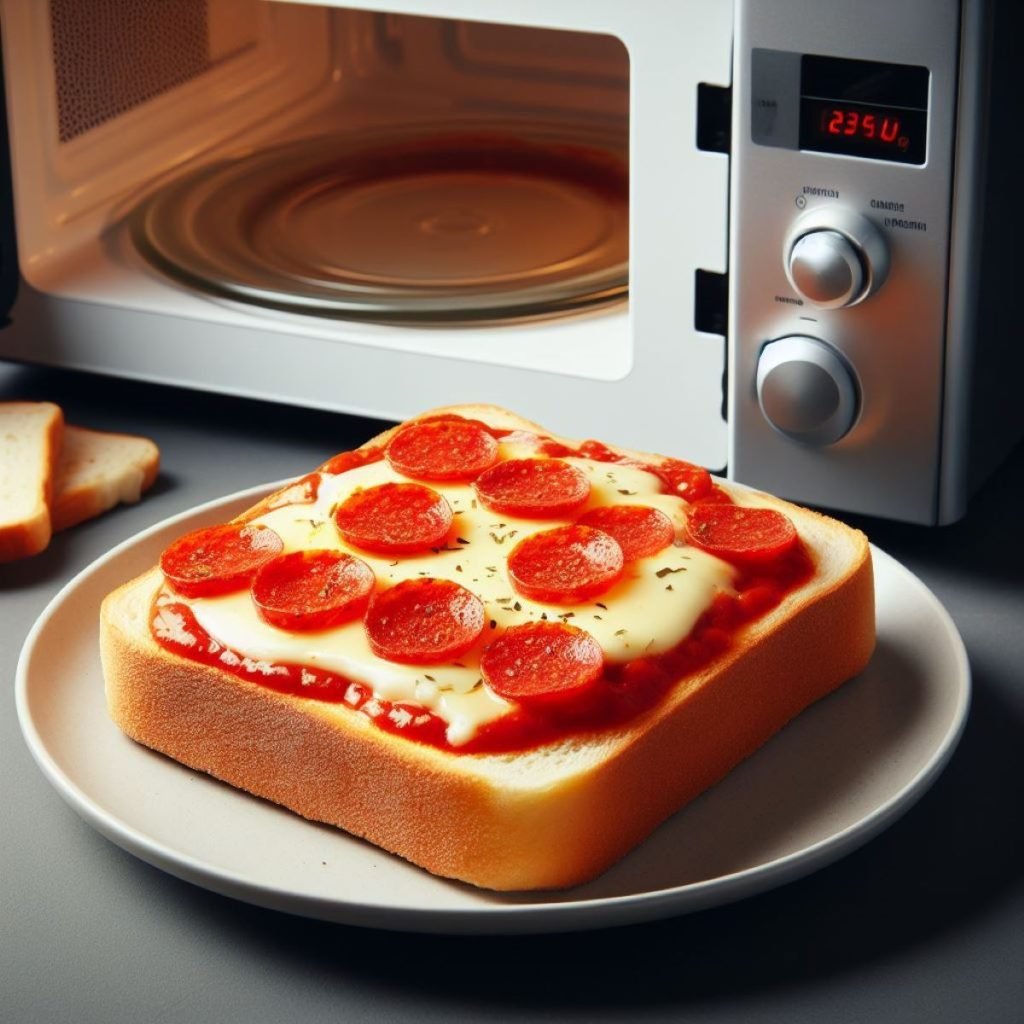
52.Reheat baked items like pizza without overbaking them
When reheating pizza or baked goods, place a cup of water in the microwave alongside them to add moisture to the air (therefore keeping the food from drying out).
53.Preserve birthday cake for several days.
Dug into a cake and didn’t finish the whole thing? Save it from drying out by securing a slice of bread to the exposed portions with toothpicks. The bread holds in the cake’s moisture.

54.Use the proper microwave technique to reheat pasta
Reheating a giant blob of sauced spaghetti can get tricky — somehow it always ends up sizzling around the perimeter, ice cold in the middle.
For even warming, shape leftover pasta into a donut (with a hole in the middle) on a plate.
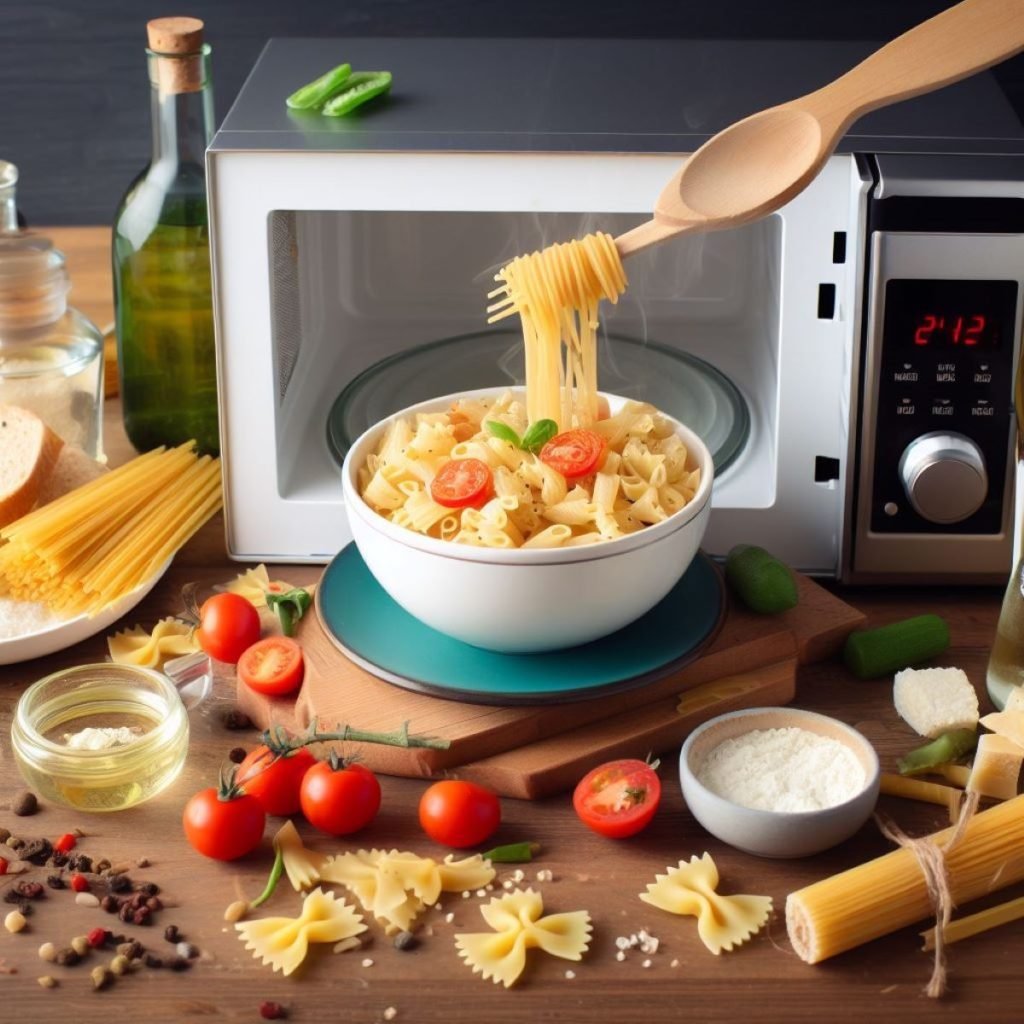
55.Use the microwave to reheat bread without creating hockey pucks
Much like tip number 52, the key to reheating already cooked foods is to add some moisture. When it comes to bread, set the microwave to a low power setting, and drape the rolls or buns with a moist paper towel.

Freezing
56.Reserve fresh herbs for upcoming usage
Accidentally bought too much basil or mint? Use an ice cube tray or muffin tin to freeze fresh chopped herbs in water, olive oil, or stock for later use as a seasoning agent.
No matter how you slice it, it’s just not classy to put ice cubes in your wine. Instead, cool down a fresh glass or a fancy cocktail by plopping a few frozen grapes in your glass.

57.Prevent the burnt ice cream in your freezer
Place a piece of wax paper over ice cream before putting it back in the freezer. The barrier will help prevent freezer burn!
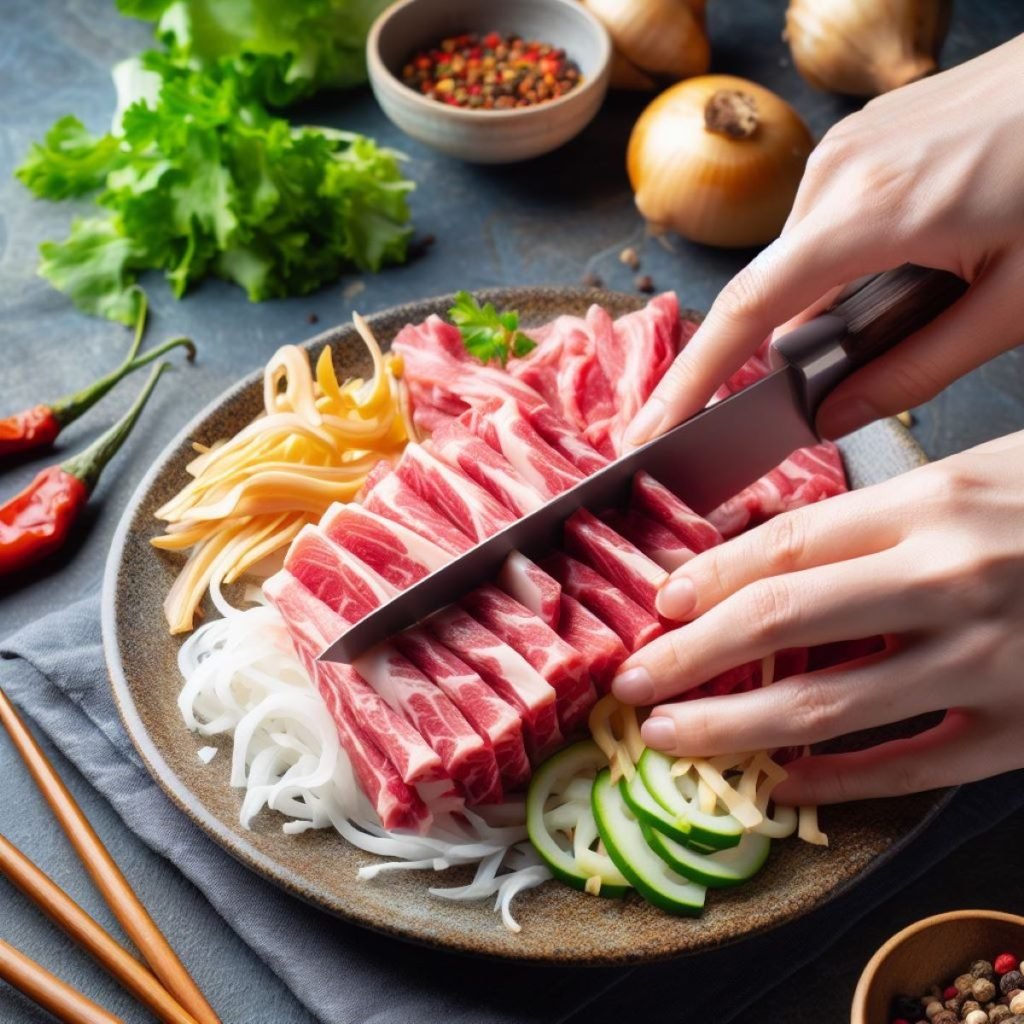
58.Meat may be effortlessly sliced thinly for stir-frying.
Does your stir-fry ever really look the same as when you ordered take out?
While the veggie part is easy, it’s tough to produce thinly sliced chicken or beef without an infomercial-level knife — unless you partially freeze the meat before cutting it. About 30 minutes should do the trick.
59.Extend the stability of nuts
Add nuts to the list of freezer-friendly foods. If you’re not likely to get through a giant bag fast, freeze shelled nuts to preserve their natural oils (which may go rancid at room temperature over time).

60.Cool coffee without adding more water to it
Fill an ice cube tray with cooled leftover coffee and let the cubes set in the freezer. They’ll keep an iced cup of joe from becoming watered down. You can even customize the cubes by adding milk and sweetener.

Cleaning Kitchen Hacks
61.Clean cast iron to prevent corrosion
Scrubbing cast-iron pans with soapy water is a no-no (it’ll strip away the seasoning on the pan built up from all those dishes).
Instead, clean cast iron with a salt scrub to remove stuck bits of food. Pour a cup of coarse kosher salt into a warm skillet, then scour with a kitchen towel. Rinse with hot water and dry with another towel.

62.Get rid of offensive cooking odors from your hands
Neutralize garlic- or onion-scented hands by rubbing them with lemon juice, baking soda, or holding on to something made of stainless steel.
Why stainless steel? When you touch the material, the molecules in the steel bind with the stinky-stanky causing molecules (such as sulfur from garlic).

63. Coffee grinders don’t exactly get dirty, but grounds often clump inside the grinding well
To remove stuck-on grinds, toss a few chunks of stale bread into the small appliance, pulse, then dump the crumbs. The coffee will stick to the bread!

64.Fruit and vegetable cleaning without using harsh chemicals
Scrub fresh produce with a mixture of baking soda and water to remove grit, grime, and pesticides.
65.De-crust a microwave
Soak a sponge in water, pop it in the microwave, and let it cruise around the turntable for a minute.
This hack is a double-whammy that loosens all that gross caked on stuff inside the microwave (making it easier to wipe away later). Plus, it helps disinfect the sponge too!
66.Turn on a glowing electric kettle
Lime scale often builds up on electric kettles, French presses, and other metal kitchen tools. To make them shimmer and shine like they’re brand new, scrub them with 1 part vinegar to 1 part water.
If there are no electrical elements to what you’re cleaning, go ahead and soak the metal in the solution, or fill a kettle with the vinegar water and let it sit overnight.

67. Bring back wooden utensils
When wooden spoons don’t exactly look (or smell) like they used to, boil them in a pot of water and leave them lying in the sun to dry.

68.Keep wooden chopping boards in pristine condition
Scrub a wooden cutting board with coarse salt and massage with half a lemon to clean away food particles and food smells. To keep wooden boards in tip-top condition, once a month, condition by scrubbing with food-grade mineral oil (find it at a hardware store).
Kitchen organization and safety
69.Prevent the spread of pollution
It’s always smart to have two cutting boards — one for raw meat, one for everything else. It’ll help separate uncooked meat juices (ew) from raw fruit and veggies, keeping you and your family safe from cross contamination.
If you need a visual, purchase two different colored boards so there’s no confusion.

70.Keep recipe forms tidy
Sure, we’re all cooking via recipes on our phones and laptops these days, but sometimes you wanna hit the books, so to speak.
When using a cookbook or handwritten recipe card, keep it away from spatters and spills by clipping it up on a pants hanger, suspended from a cabinet handle.
Laptop stands are another effective tool to elevate heavier cookbooks off your workspace.

71.Use dry sponges
Use an upside down binder clip as a cute little stand to keep a kitchen sponge upright. It’ll dry faster and stay ick-free for longer. Plus, decreasing moisture in the sponge means germs, mold, and stink have less of a chance to build up.

72.Eliminate slick cutting boards
Need a little traction underneath a wooden cutting board? Place a damp (not sopping) dish towel under the board to keep it from slipping and sliding across the countertop.

73.Shield jagged edges
The safest knife storage option is a block (which will also stave off blade dulling). But when storing a knife in a drawer, here’s a tip — pun intended — pop a wine cork on the sharp end.
It’ll keep the knife from jabbing wandering hands, plus keep it from jostling around when a drawer is yanked open.

74.Keep your knives sharp
To keep knives from dulling, store them upside down in a countertop knife block (blades facing upward).
Another way to preserve sharpness: After chopping, transfer food to a pan or bowl using the back of a knife, rather than drawing the blade across the cutting board. And remember kids, a sharper knife is a safer knife.
READ MORE INTERESTING ARTICLE: Creamy Nutty French Toast
75.Learn how to put out fires
If your fire extinguisher isn’t within reach (in your kitchen, it should be) before stopping, dropping, and rolling, sprinkle baking soda onto a small grease or electrical fire to extinguish the flames. When heated, baking soda releases carbon dioxide, which helps stifle the fire.

Bottom line
Feeling ready to get cooking? (And baking? And storing? And freezing?) We may not be able to turn you into a master chef, but these tips and tricks just might help you hack your way to kitchen confidence.